Save yourself a lot of effort - plus space on the stovetop - and cook Instant Pot corn on the cob with husk on. This quick and easy pressure cooker recipe is practically foolproof, and perfect to make for a delicious veggie side dish!
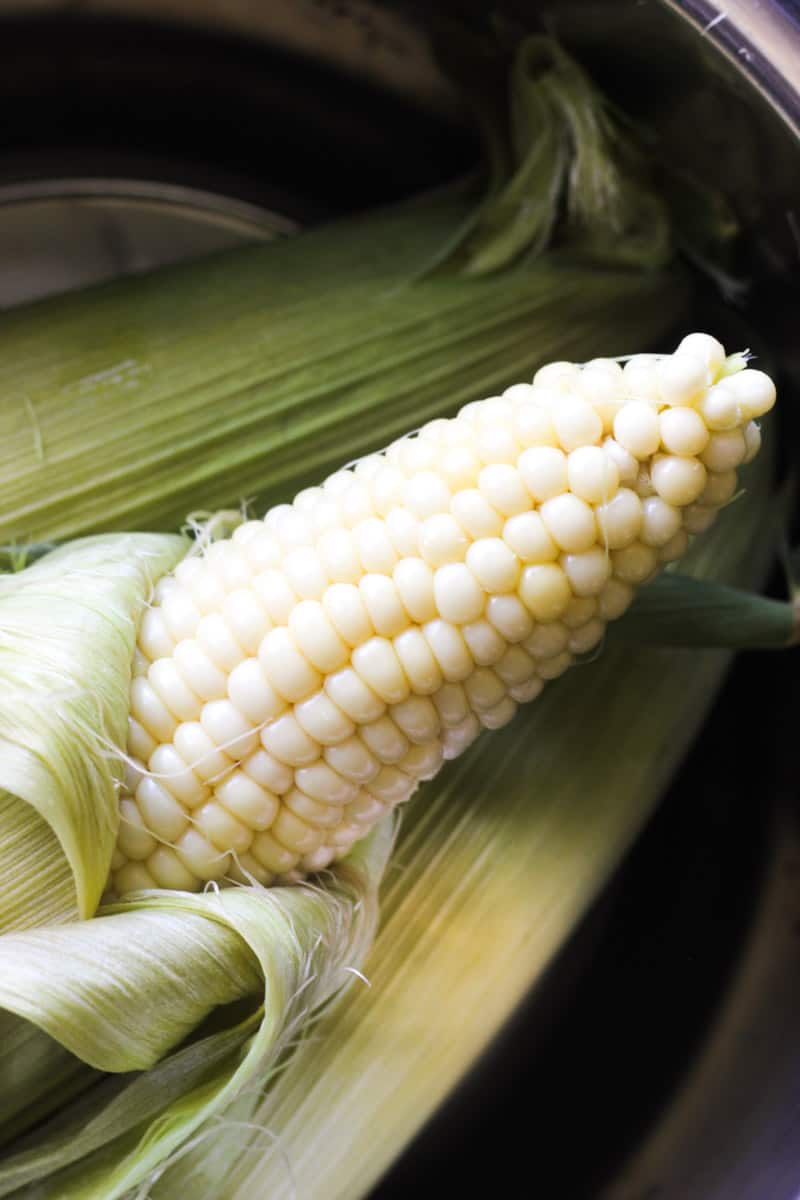
There is something so satisfying about biting crisp, plump and juicy corn kernels right off the cob. The taste and texture are simply iconic! But while we love to munch fresh corn, most traditional shucking and cooking methods can be a bit tedious. Air fryer corn on the cob in husk is another great recipe to try.
Thankfully, this Instant Pot corn on the cob with husk on recipe cuts out unnecessary steps for the easiest prep possible. Place the whole ear of corn - yup, husk and all! - in the IP with a cup of water. The timer is set for just 4 minutes, so with pressure build up and a quick pressure release you are looking at a total cook time of only about 15 minutes.
The soft husk will easily peel off to reveal super tender and flavorful kernels of corn. Then slather each cob with butter or other delicious toppings, and serve as a hearty vegetable side dish.
How to cook Instant pot corn on the cob with husk
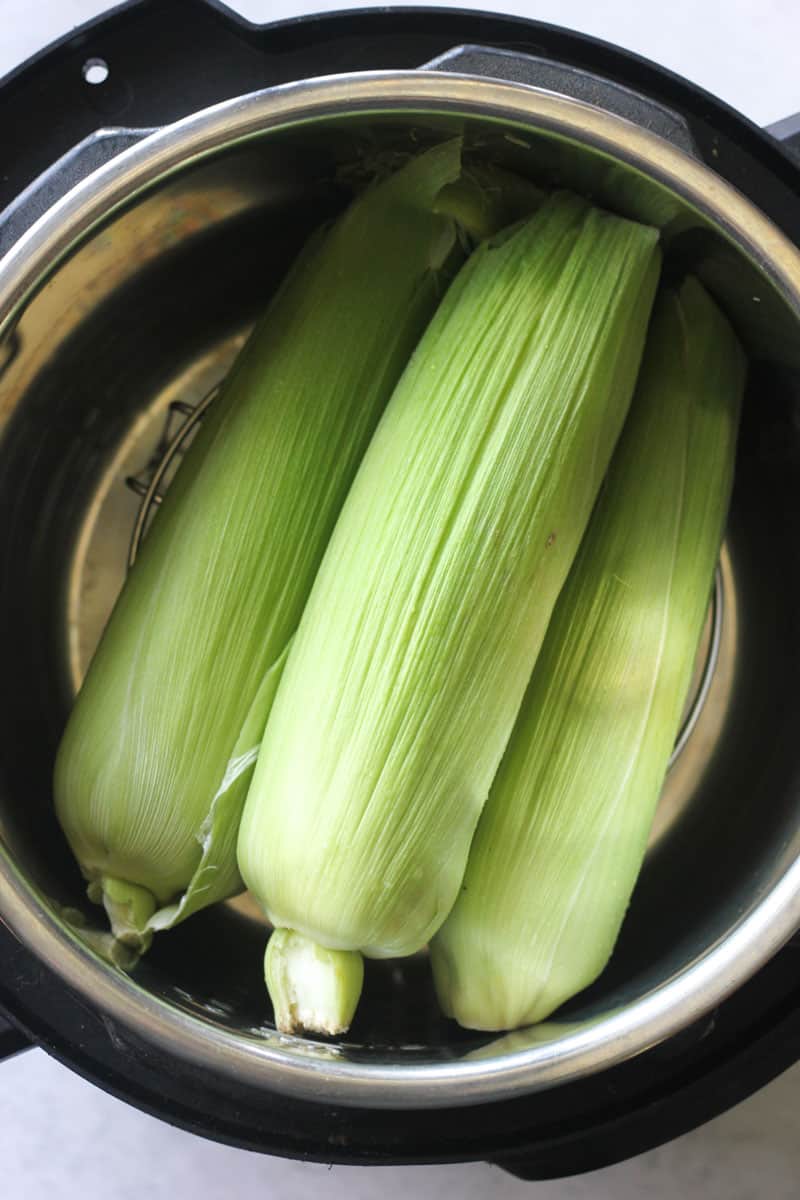
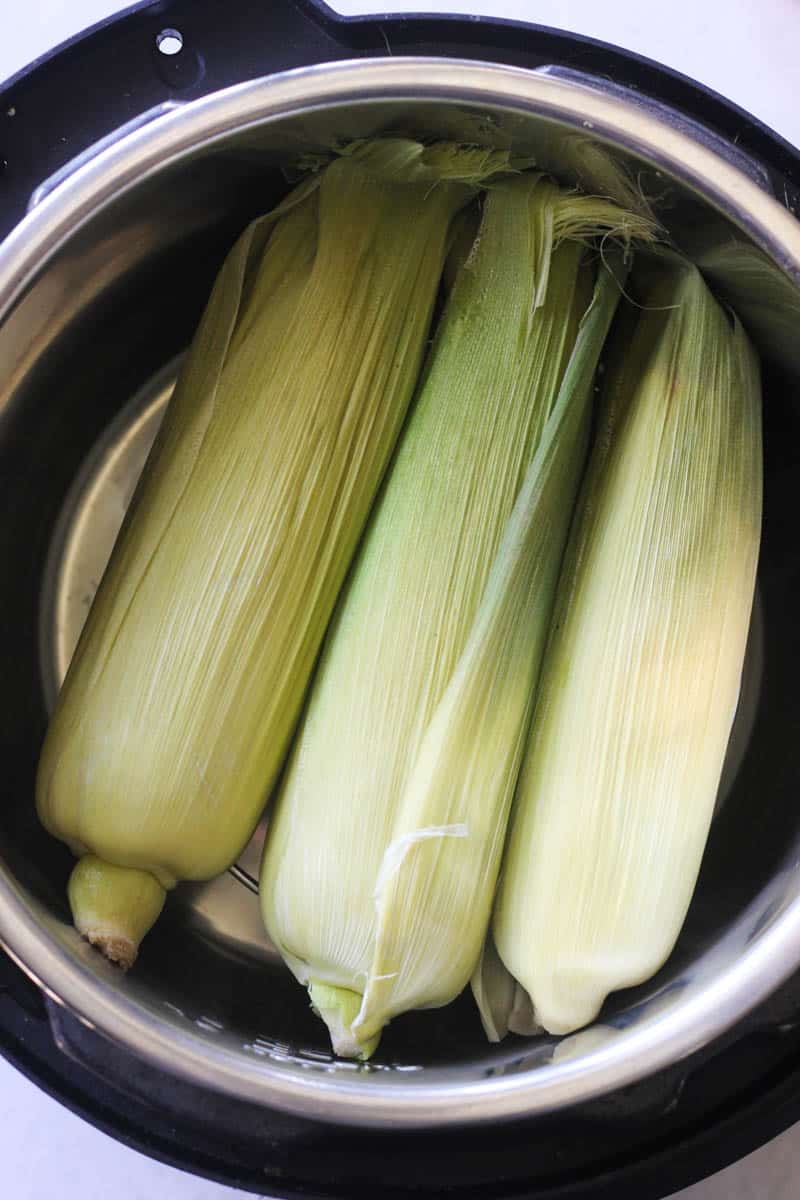
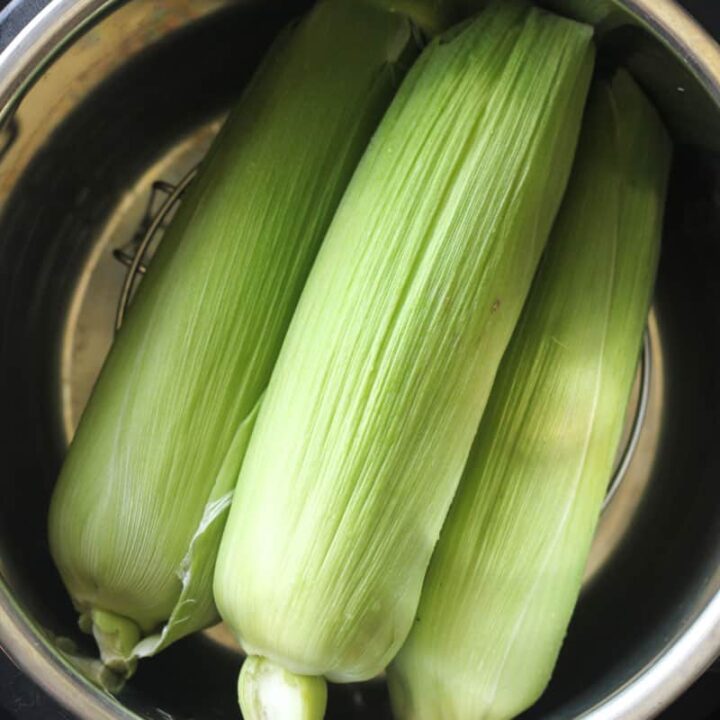
Just follow these easy steps and you will have deliciously cooked corn on the cob with almost zero afford. Get your corn and optionally cut the ends to make it fit into your pressure cooker. I was able to fit 3 but you can easily double this amount. The cooking time will remain the same.
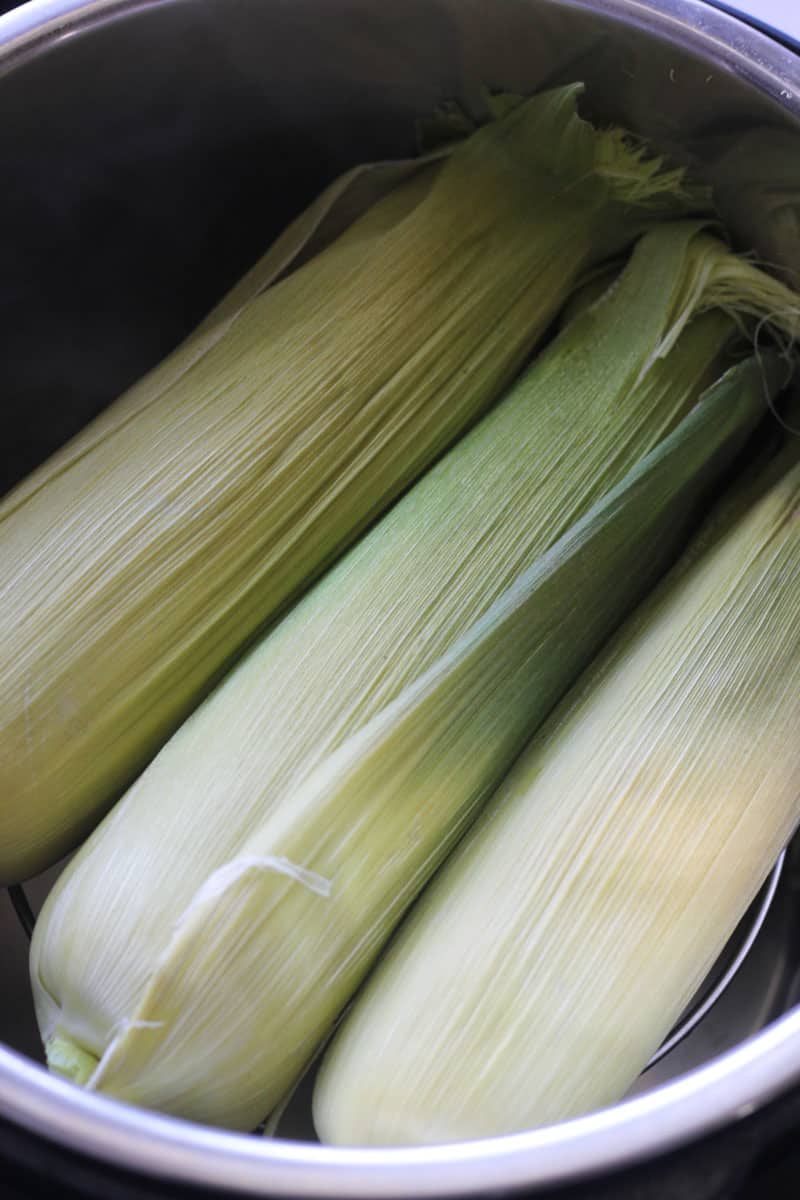
Add about 1 cup of water in the inner pot. I like to place corn on the trivet but you can put it directly in the water. Now close and lock the lid and cook under high pressure for 4 minutes. Quick release the pressure or release pressure naturally for softer corn.
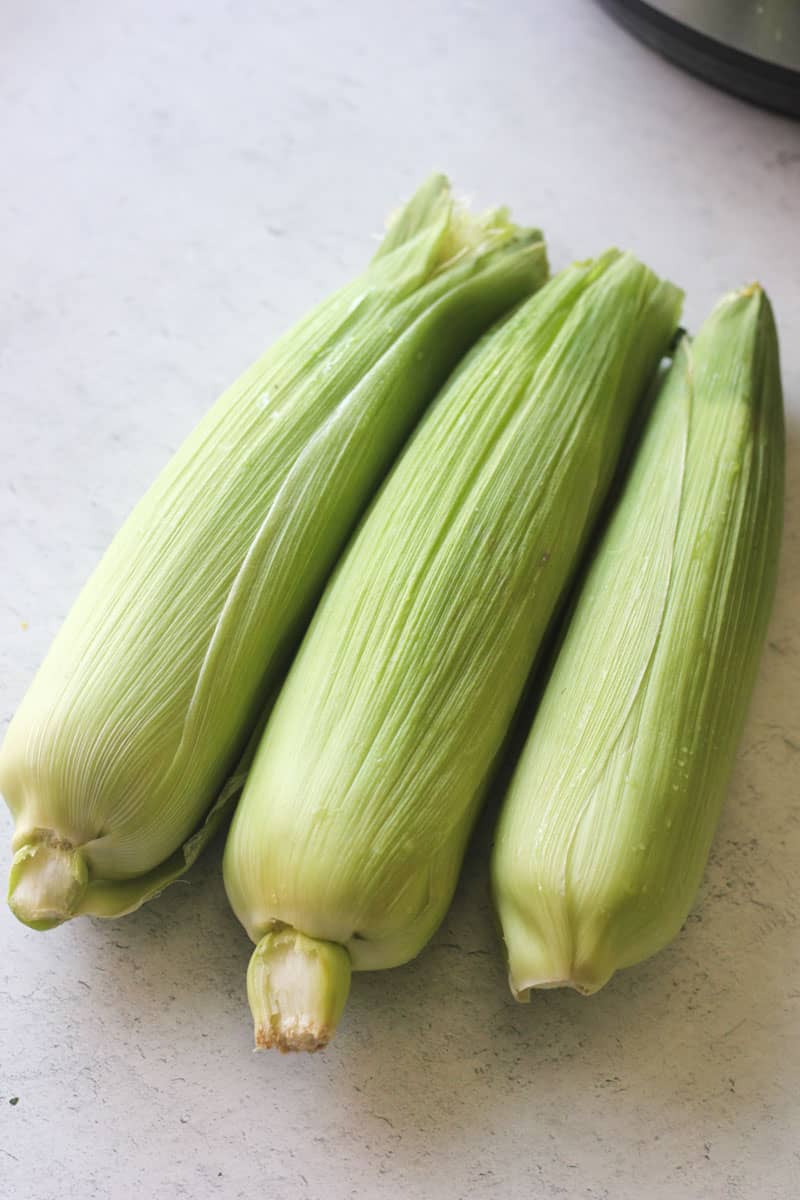
You won't believe how easy it is, or how mouthwateringly delicious the cob comes out every time. So skip the hassle and give this pressure cooker recipe a try! I'm sure it will be a big hit as a side for family dinners, barbecues, potlucks, and more.
Why you should you cook corn on the cob with the husk
The outside leaves on an ear of corn are known as the husk. Together they close tightly around the corn to protect from pests and weather damage.
Typically the husk is shucked from the ear, which involves grabbing the top leaves and stripping back to reveal the kernels. With this method you also need to take extra care to remove any stringy bits that might remain. While not wholly difficult, the process total does take a good bit of effort and time.
But cooking the entire ear with husk on is both easier and results in tastier corn. The outer layers basically just slide off, stringy stuff and all. And best yet, all that great fresh corn flavor gets really locked in to each kernel!
Would you like to save this?
Toppings suggestions
- Of course you can't go wrong classic butter or olive oil for a bit of richness to make the fresh kernels really pop!
- For something a bit different, try a compound butter with your favorite herbs and spices.
- Smear on a bit of mayo or Greek yogurt, then add crumbled cotija, feta, or parmesan cheese.
- Sprinkle on seasonings like chili powder or Tajin, Italian or Greek seasoning, salt and pepper, or any spices you like!
- To keep this a dairy-free and vegan recipe simply use your preferred plant-based toppings.
Frequently asked questions
The husks should not be set directly in the pressure cooker. However, if you do not have a "formal" trivet there are options! A metal sieve or colander that fits into the pot will also work well. In a pinch you can form pieces of aluminum foil into sturdy thick stick-like rolls, then place the corn on top of those in the pot.
Steaming keeps the kernels tender and firm but it is hard for foods to cook evenly, especially corn. Boiling the ears will make them quite soft.
Instant Pot corn on the cob with husk is the best option, because the IP does not steam nor boil the corn. Instead, it pressurizes the kernels with steam - almost like a super charge! This method thoroughly and evenly cooks each kernel while also keeping them firm.
Here is a great hack for removing the corn husk: Let the cob cool, then cut the end off about 1 inch from the bottom. Pinch the top of the corn, and slide the corn cob right out of the husk! This is similar to pushing up a frozen ice pop.
Yes, any pressure cooker will work with this recipe.
Leftovers
Keep corn leftovers in the fridge for up to 5 days. For best results keep corn in the airtight container, ziplock bag or tightly wrap each one in foil or plastic wrap.
Freezer. To keep cooked instant pot corn on the cob for longer, you can use your freezer. Follow the same directions as with refrigerating leftovers.
Reheat. Reheat in the air fryer or microwave oven. For frozen corn thaw first and then reheat until warm to your liking or simply heated through.
You may also like
- Instant pot turkey thighs
- Neckbone soup
- Instant pot turkey wings
- Instant pot neck bones
- Ninja Foodi sweet potato
- Ninja Foodi grill ribs
- Bang bang Brussels sprouts (another great side dish!)
- Yellowtail poke
Hope you will like this instant pot corn on the cob in husk recipe as much as we do. Rate the recipe if you made it and leave a comment below if you have any suggestions or questions.
Instant pot corn on the cob with husk
Save yourself a lot of effort - plus space on the stovetop - and cook Instant Pot corn on the cob with husk on. This quick and easy pressure cooker recipe is practically foolproof, and perfect to make for a delicious veggie side dish!
Ingredients
- 3 ears of corn (with husk on)
- 1 cup water
Instructions
- Place corn in the trivet inside the instant pot. Add water to the bottom of the inner pot.
- Close and lock the lid. Cook on high pressure for 5 minutes. Quick release the pressure. Let cool and peel.
Notes
Storage:
Keep corn leftovers in the fridge for up to 5 days. For best results keep corn in the airtight container, ziplock bag or tightly wrap each one in foil or plastic wrap.
Freezer. To keep cooked instant pot corn on the cob for longer, you can use your freezer. Follow the same directions as with refrigerating leftovers.
Reheat. Reheat in the air fryer or microwave oven. For frozen corn thaw first and then reheat until warm to your liking or simply heated through.
Nutrition Information:
Yield: 3 Serving Size: 1Amount Per Serving: Calories: 76Total Fat: 1gSaturated Fat: 0gTrans Fat: 0gUnsaturated Fat: 1gCholesterol: 0mgSodium: 4mgCarbohydrates: 17gFiber: 2gSugar: 4gProtein: 3g



Leave a Reply